Project Overview
Background
Creating custom fonts and glyphs for use on Arduino projects using the Adafruit GFX library can be tedious, requiring many hex codes to be manually calculated and imported into a C header file in a very specific way; in the interest in not wasting the time of my readers, I won’t be delving into all of the specifics here, but this article from Adafruit is a great resource if you are interested in learning more about this process. To streamline the development of my other project, CartCockpit, I developed this JavaFX application so that I could simply draw characters/glyphs of any size onto a grid of pixels and have the computer generate the hex codes for me. Though the program is relatively basic, given that its purpose was to expedite another project, I think it struck the right balance of functionality and time-efficiency.
Using GlyphMaker
Starting the Application
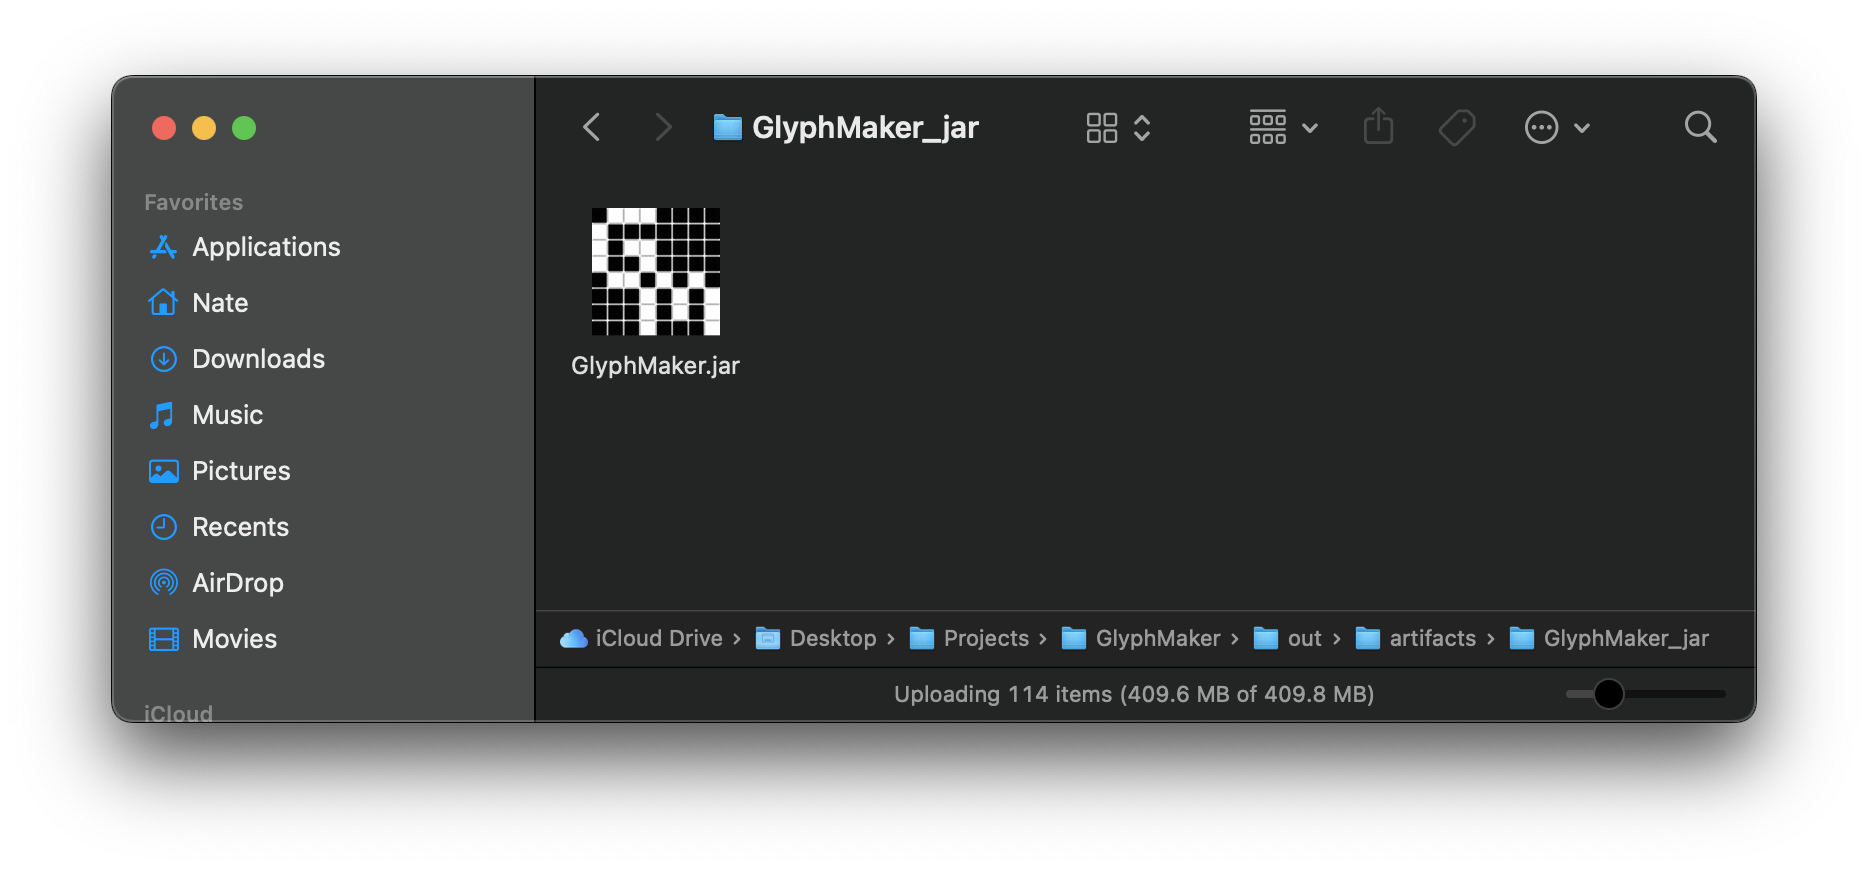
To start GlyphMaker, simply start the JAR file provided in the /out/artifacts/GlyphMaker_jar directory.
Generating the Grid
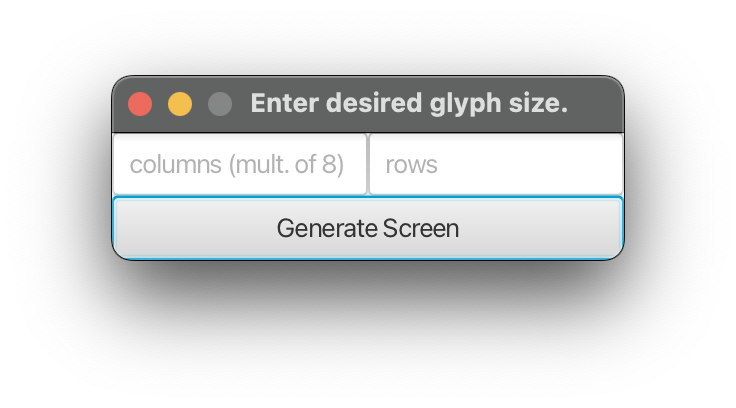
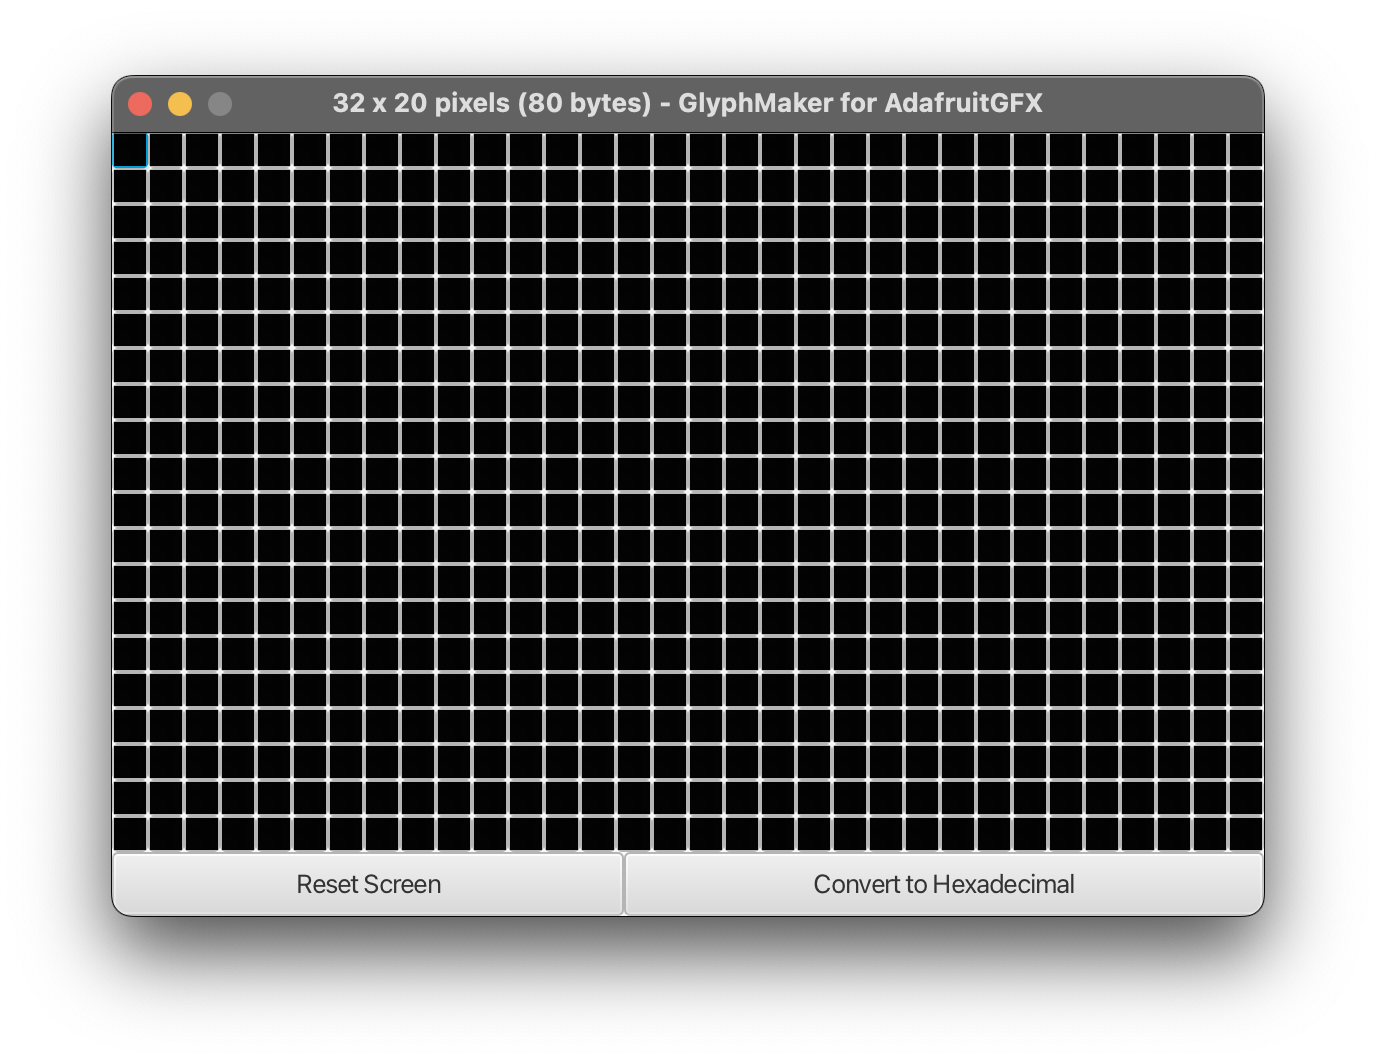
The application starts by prompting the user to enter the desired size of the glyph; note that the column count must be a multiple of eight due, for one hex code represents eight pixels (this does not apply to rows). Once a size has been entered, press the ‘Generate Screen’ button, and a grid of blank pixels will be generated; the user can then plot their glyph pixel by pixel.
Converting to Hexadecimal
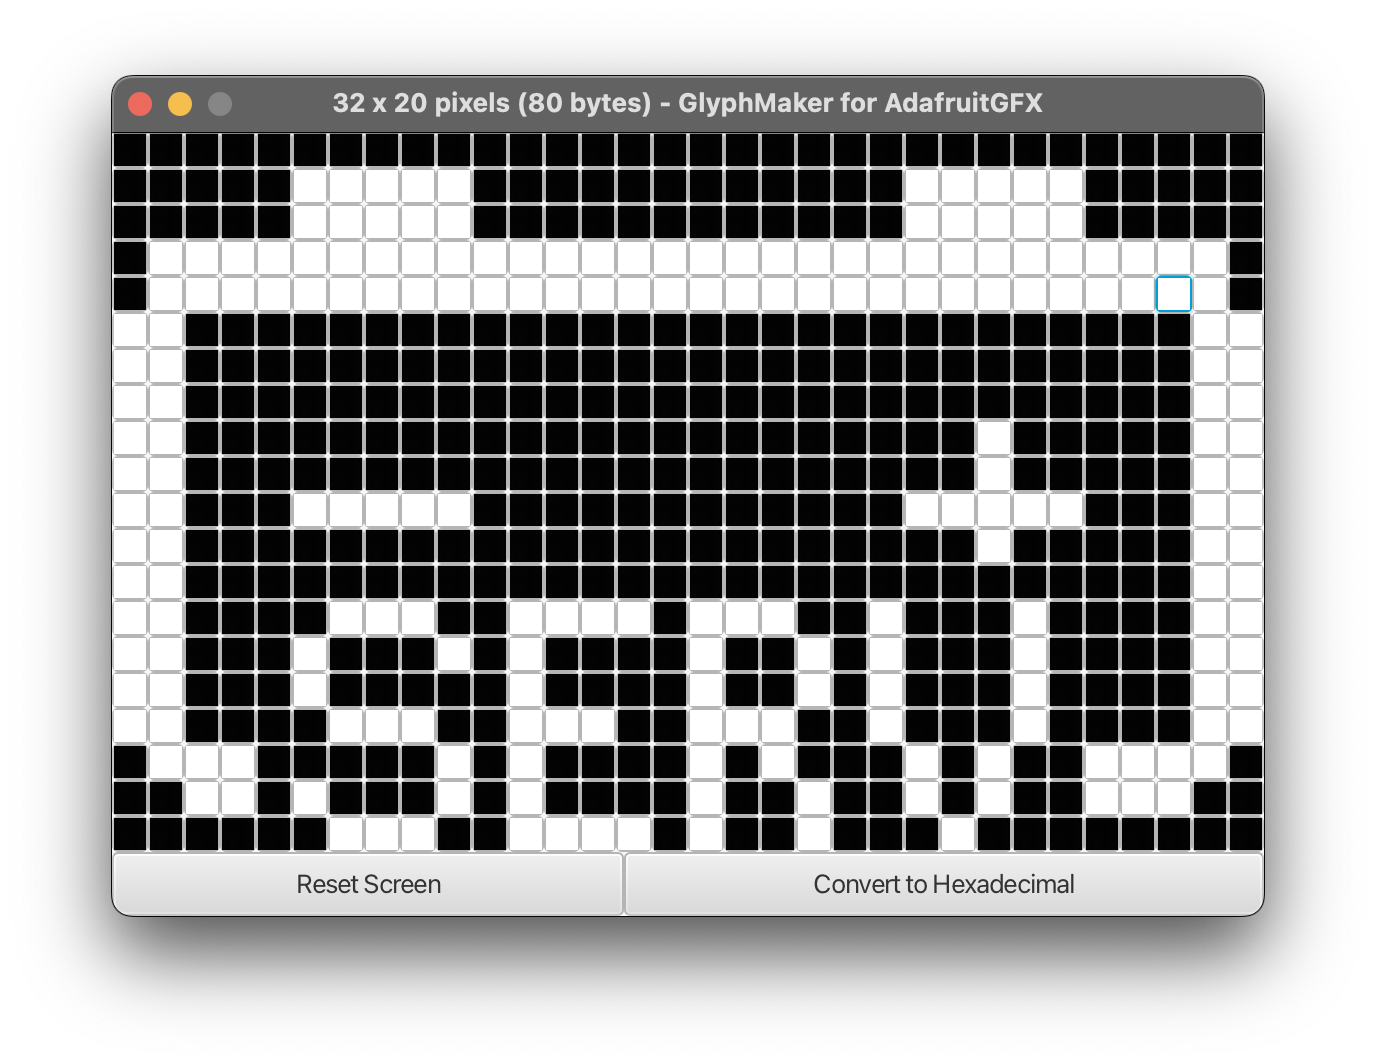
After the drawing is complete, the hitting the ‘Convert to Hexadecimal’ button will generate the hex codes in a new window.
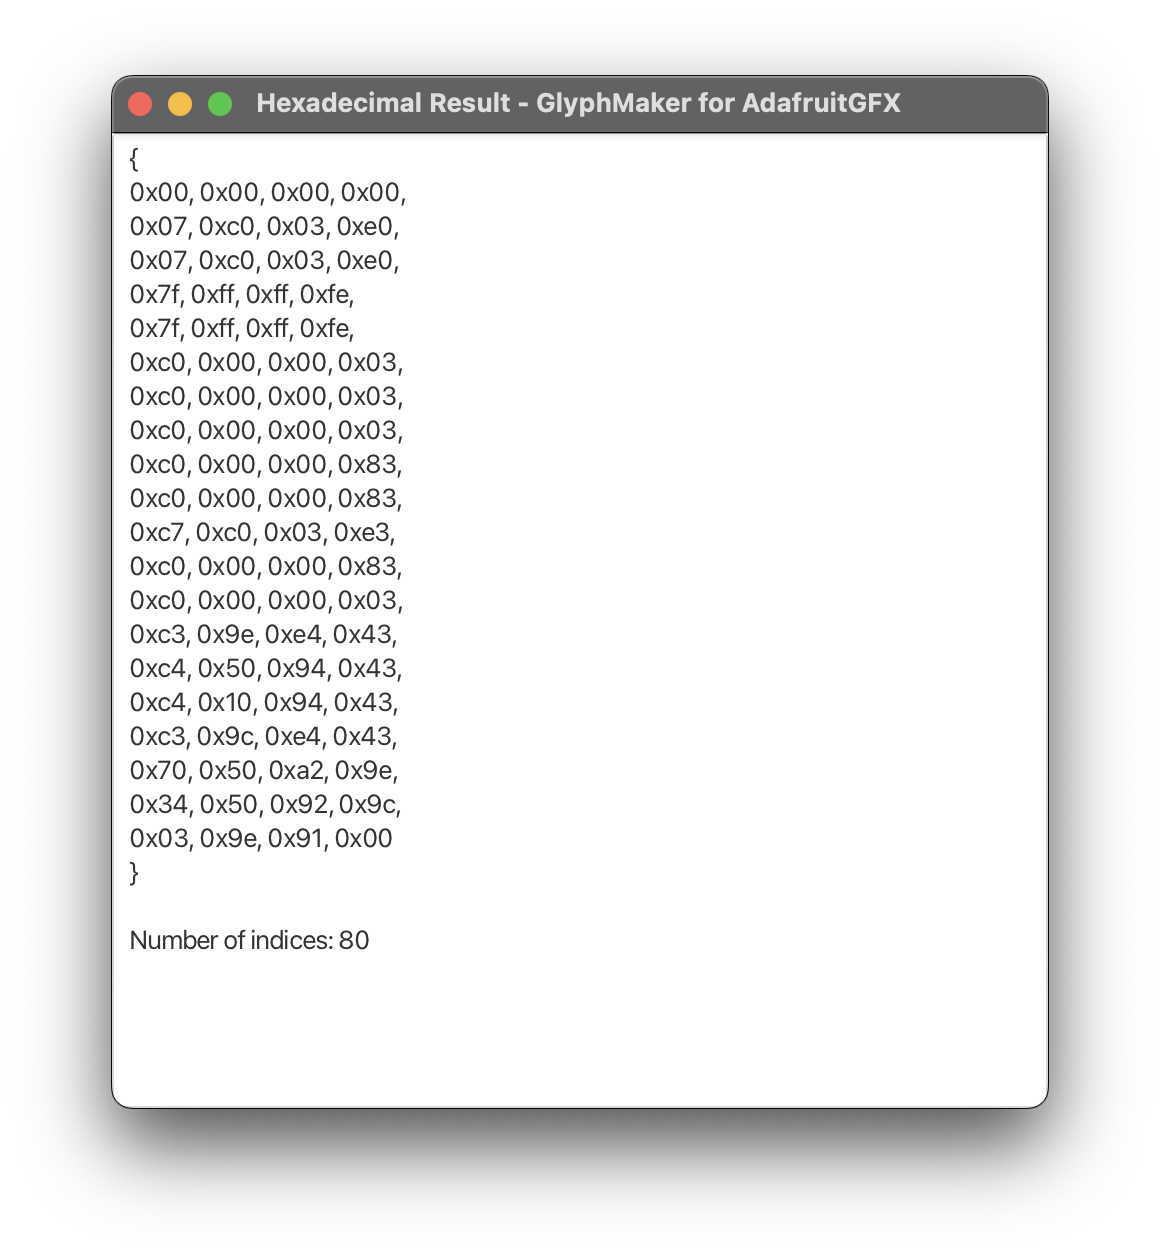
Getting the Glyph onto the Arduino
The user can then copy these hex codes and place them in a font header file.
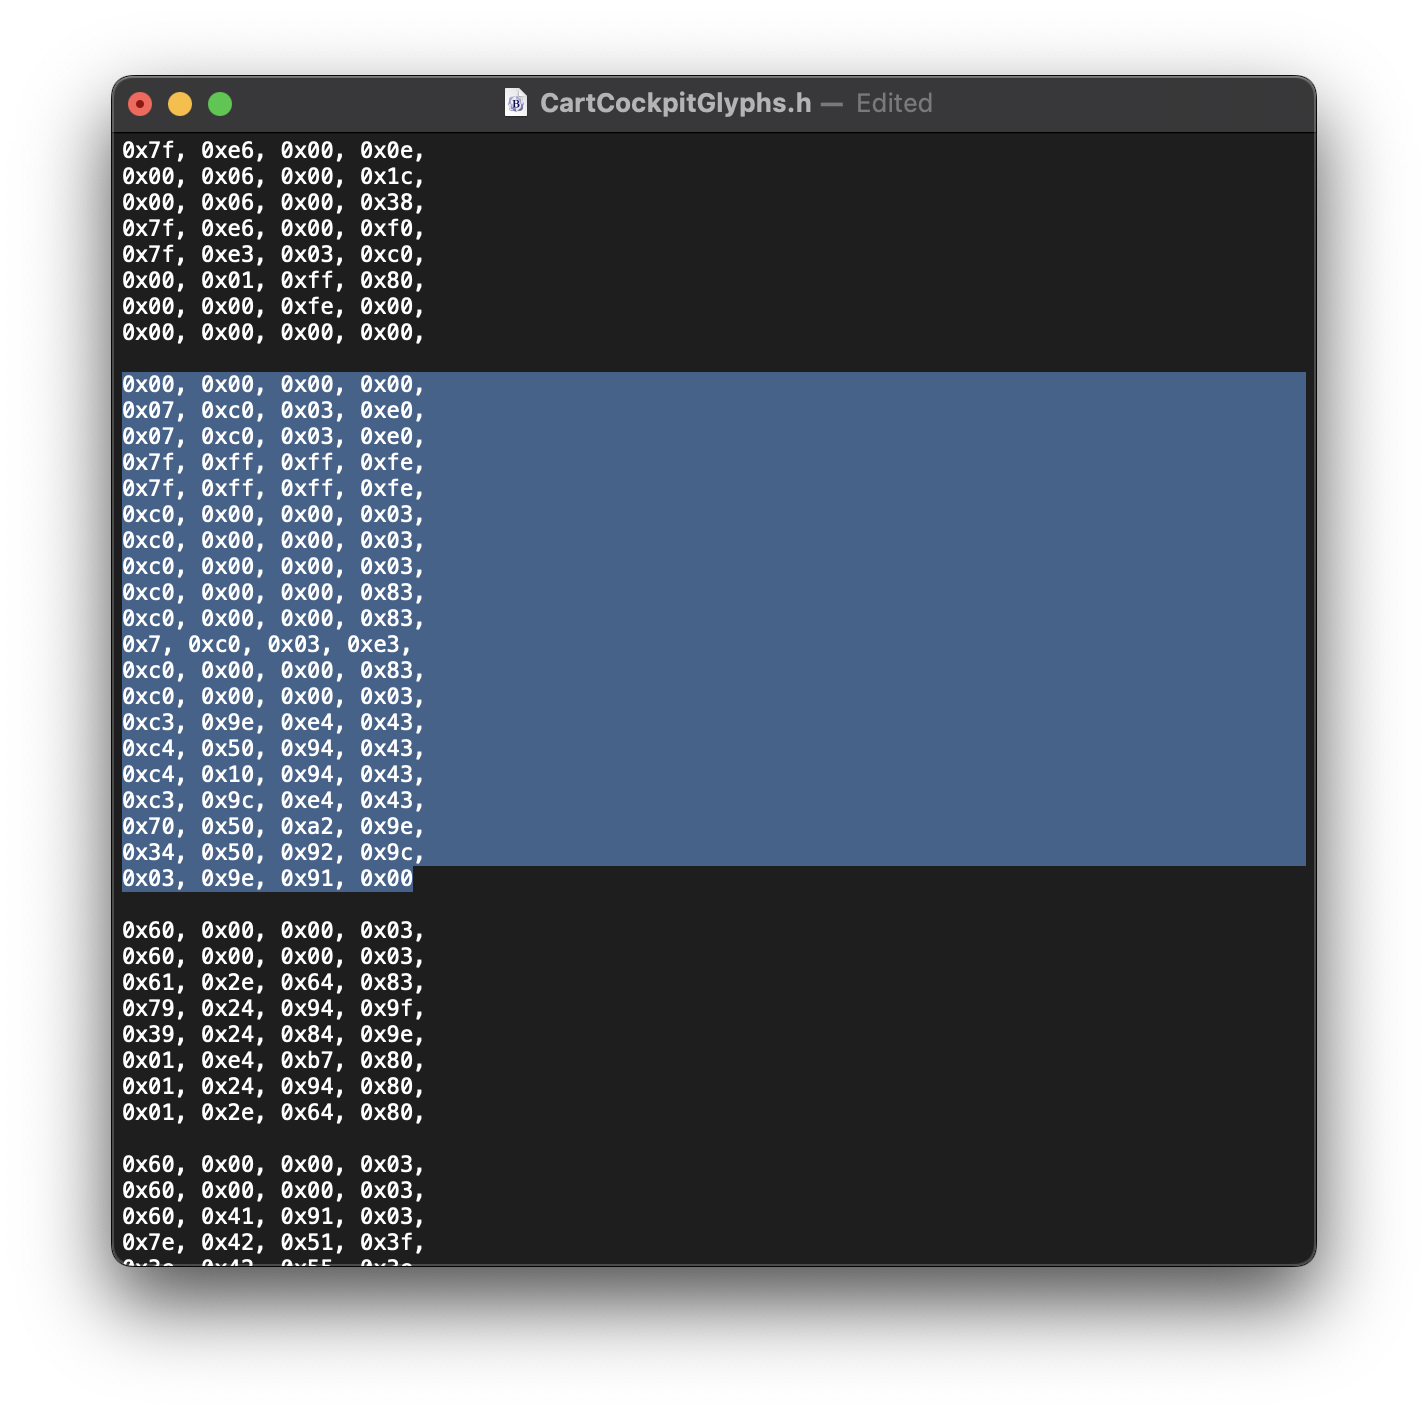
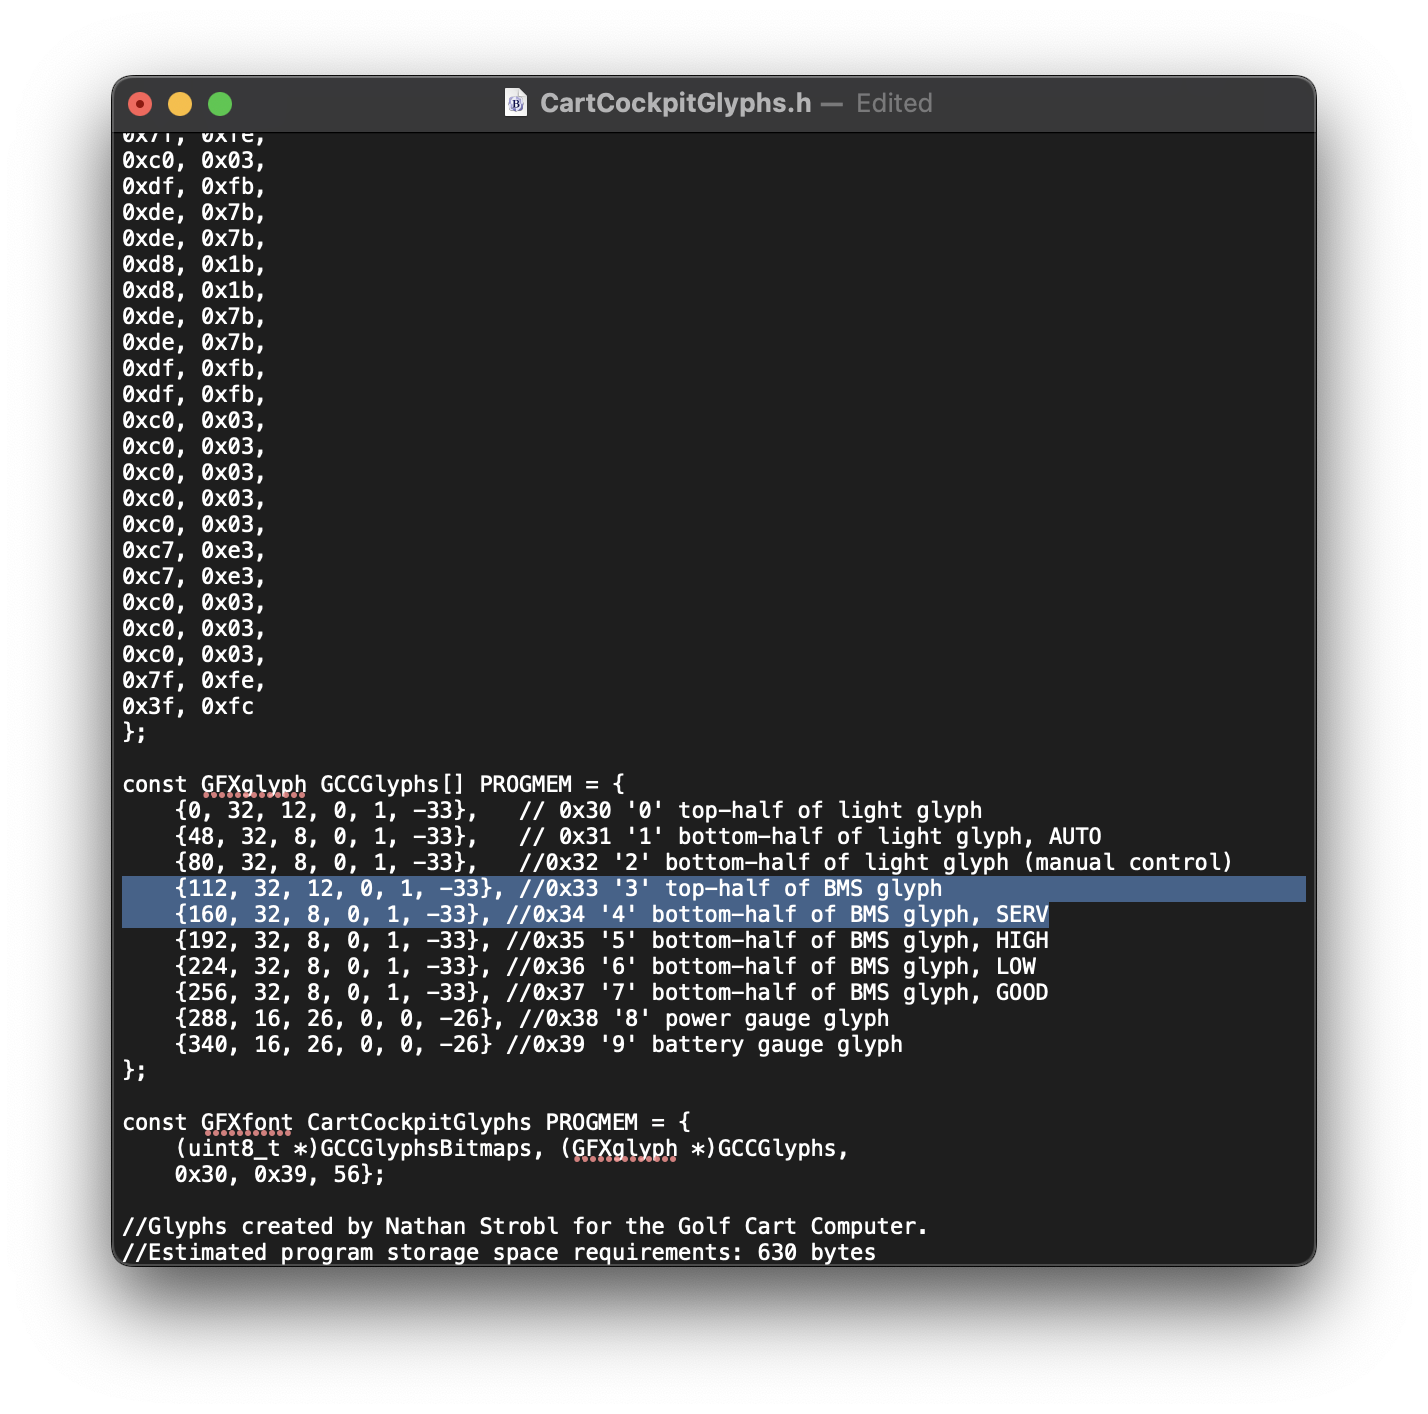
The font containing the glyph can now be included in the Arduino program and displayed on the Arduino.
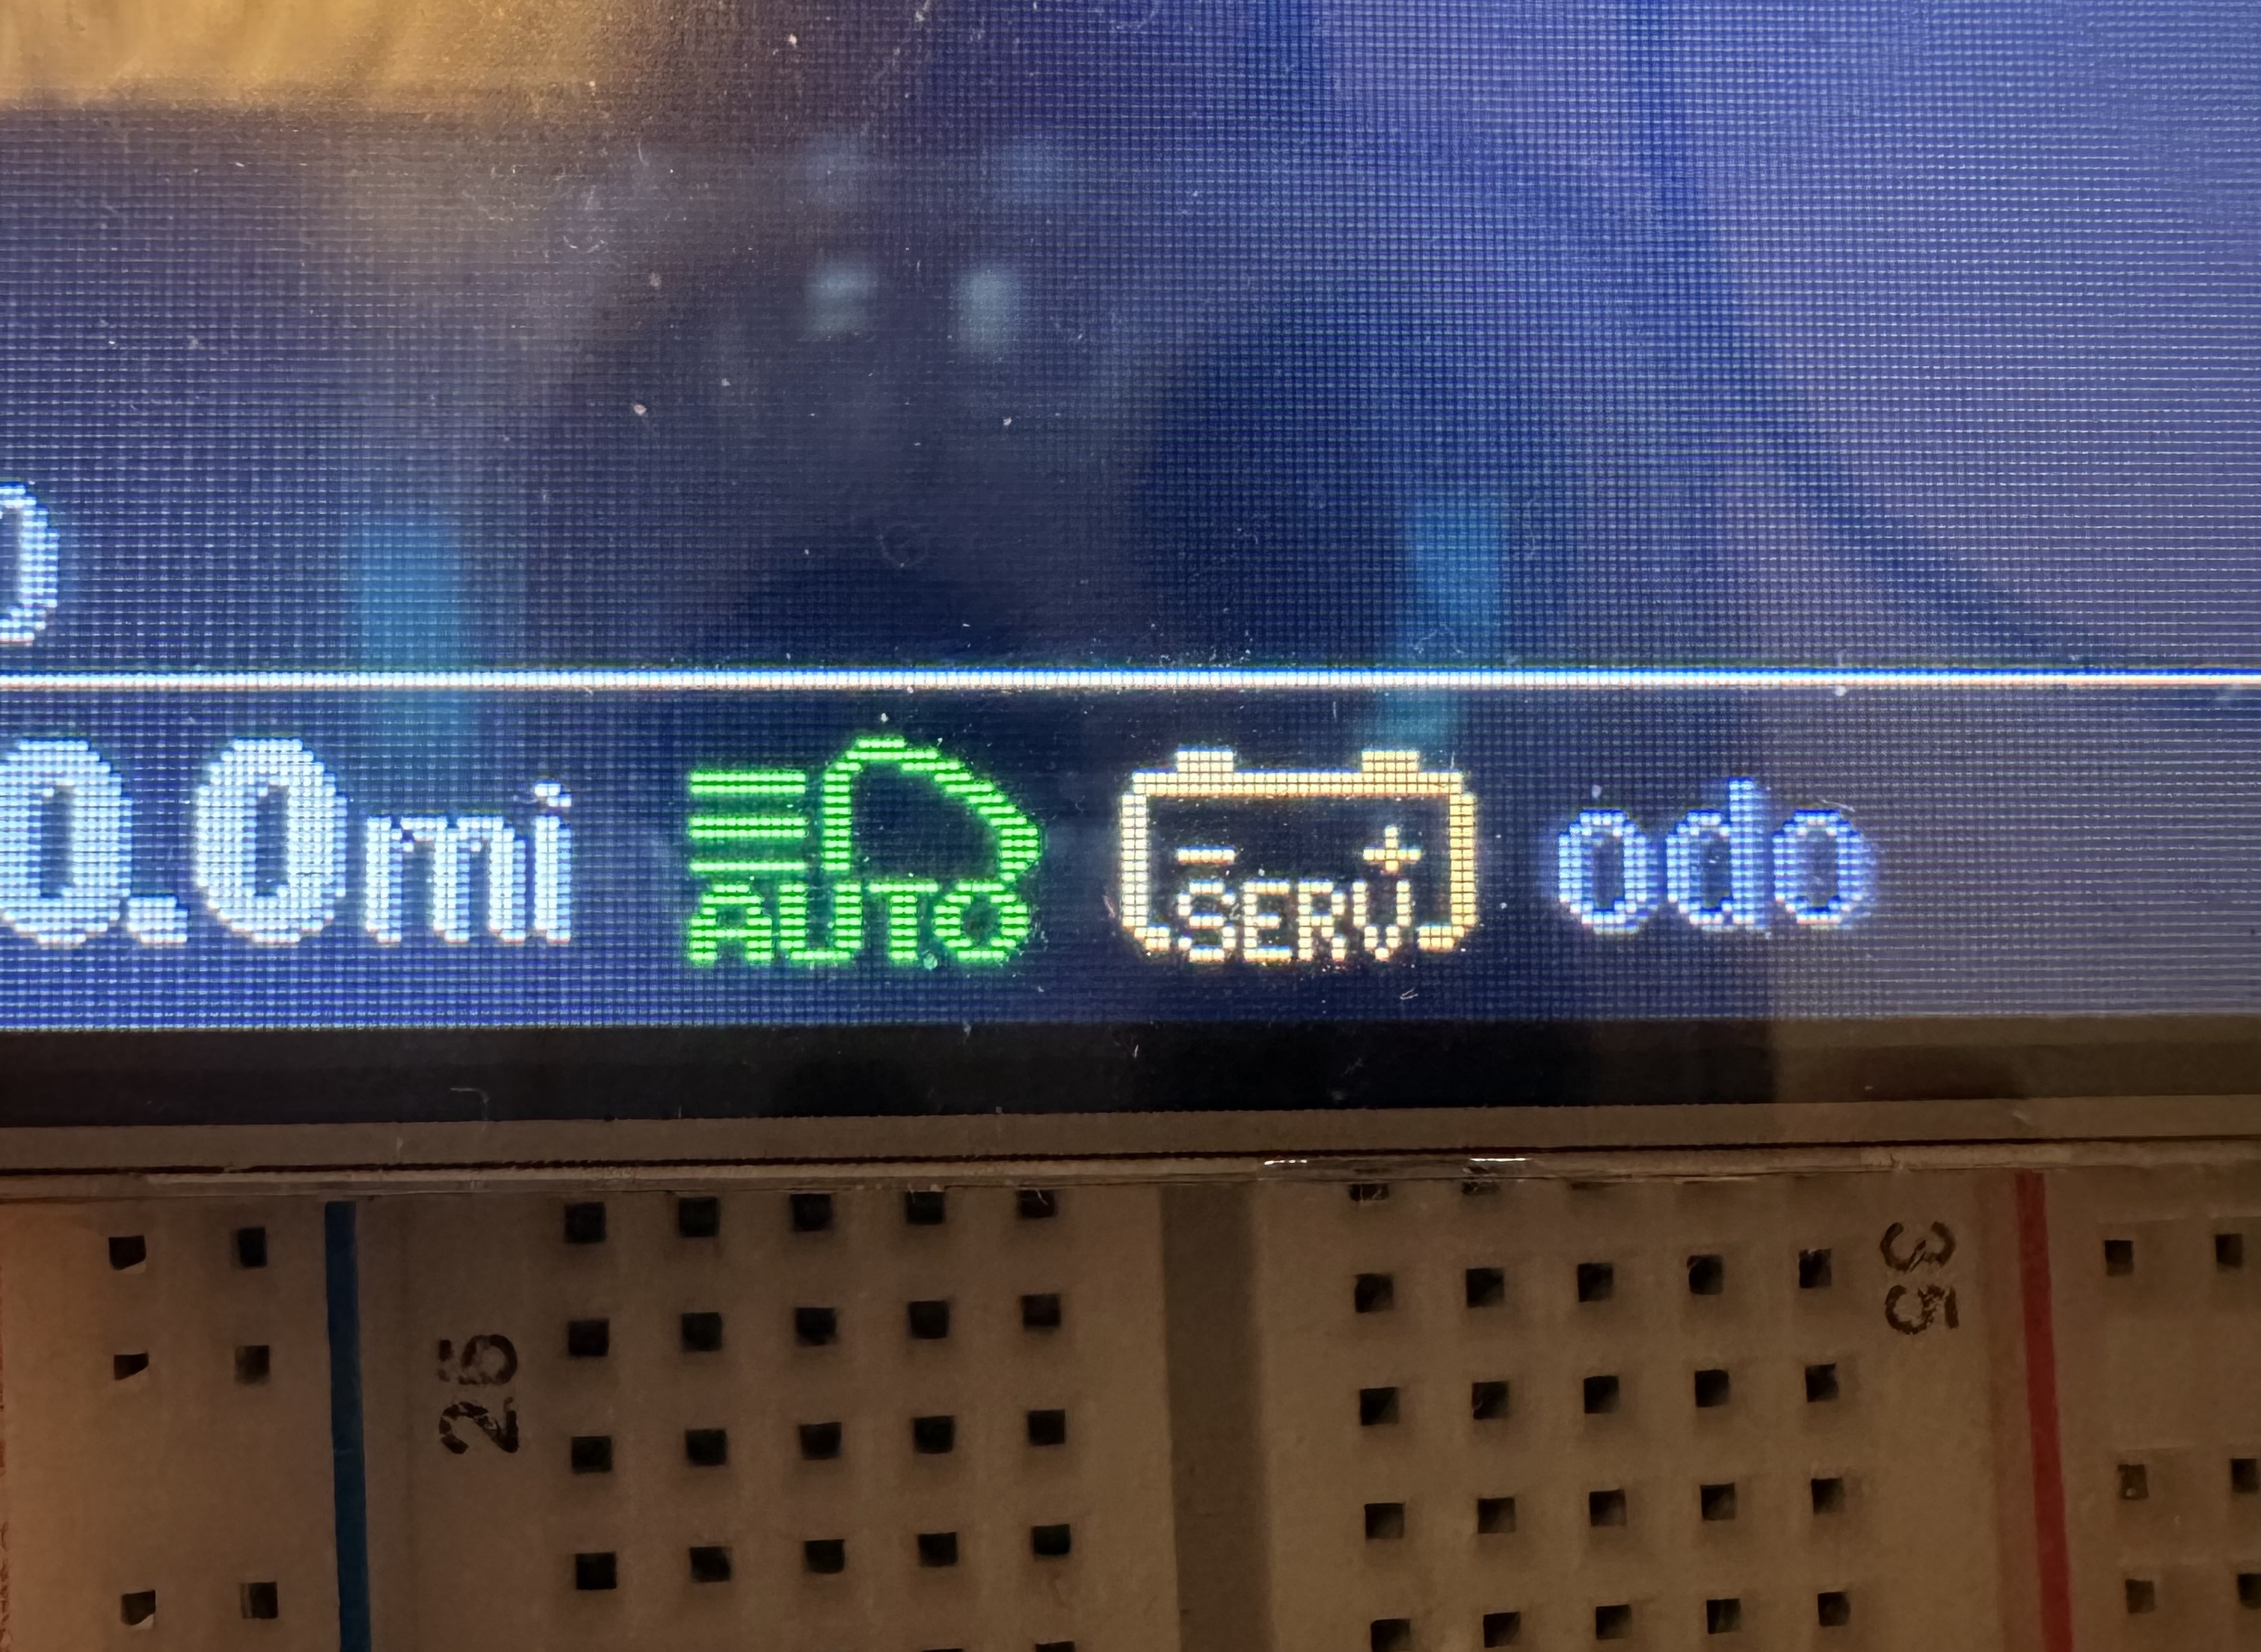
Voila!
Check It Out For Yourself!
To assist others who are working Arduino projects that also require custom glyphs, and to potentially collaborate with others on adding new features, I have made this program open-source and available on GitHub. If you are interested in examining the code of this program or running the program to understand its functionality, feel free to visit its GitHub page!

